What screams summertime is here louder than dragonflies! I know we've been fortunate and we've had a really mild winter, but I'm ready for summer!
As usual I used what I had around the garage to make these. I don't like to do projects where I have to go out and buy a lot of supplies. My husband calls me Fred Sanford because I hate to throw things away. Our recycling center has a little carport/shed where people can put items that they don't want any more, but are too "good" to chunk in the dumpster. I can't haul the garbage away without making a pass through there.
For the "body" of the first dragonfly I used a 2 inch tapered spindle/leg. The wings are framed with 12 gauge aluminum wire, then I used 20 gauge beading wire to fill in and decorate the wings. They were pretty, but they still needed something to "dress it up", so I used some beads to add some color and pizazz.

I used some scrap metal to make the "eyes" and the antenna.

I used a heavy 1 inch stapler to attach them to the spindle.

As much as I like this first dragonfly, it really took a long time for me to make it. I decided I wouldn't be able to make any money if I spent that much time on all of them. The next day I set out to try to shave a little time off of the creating of the wings.
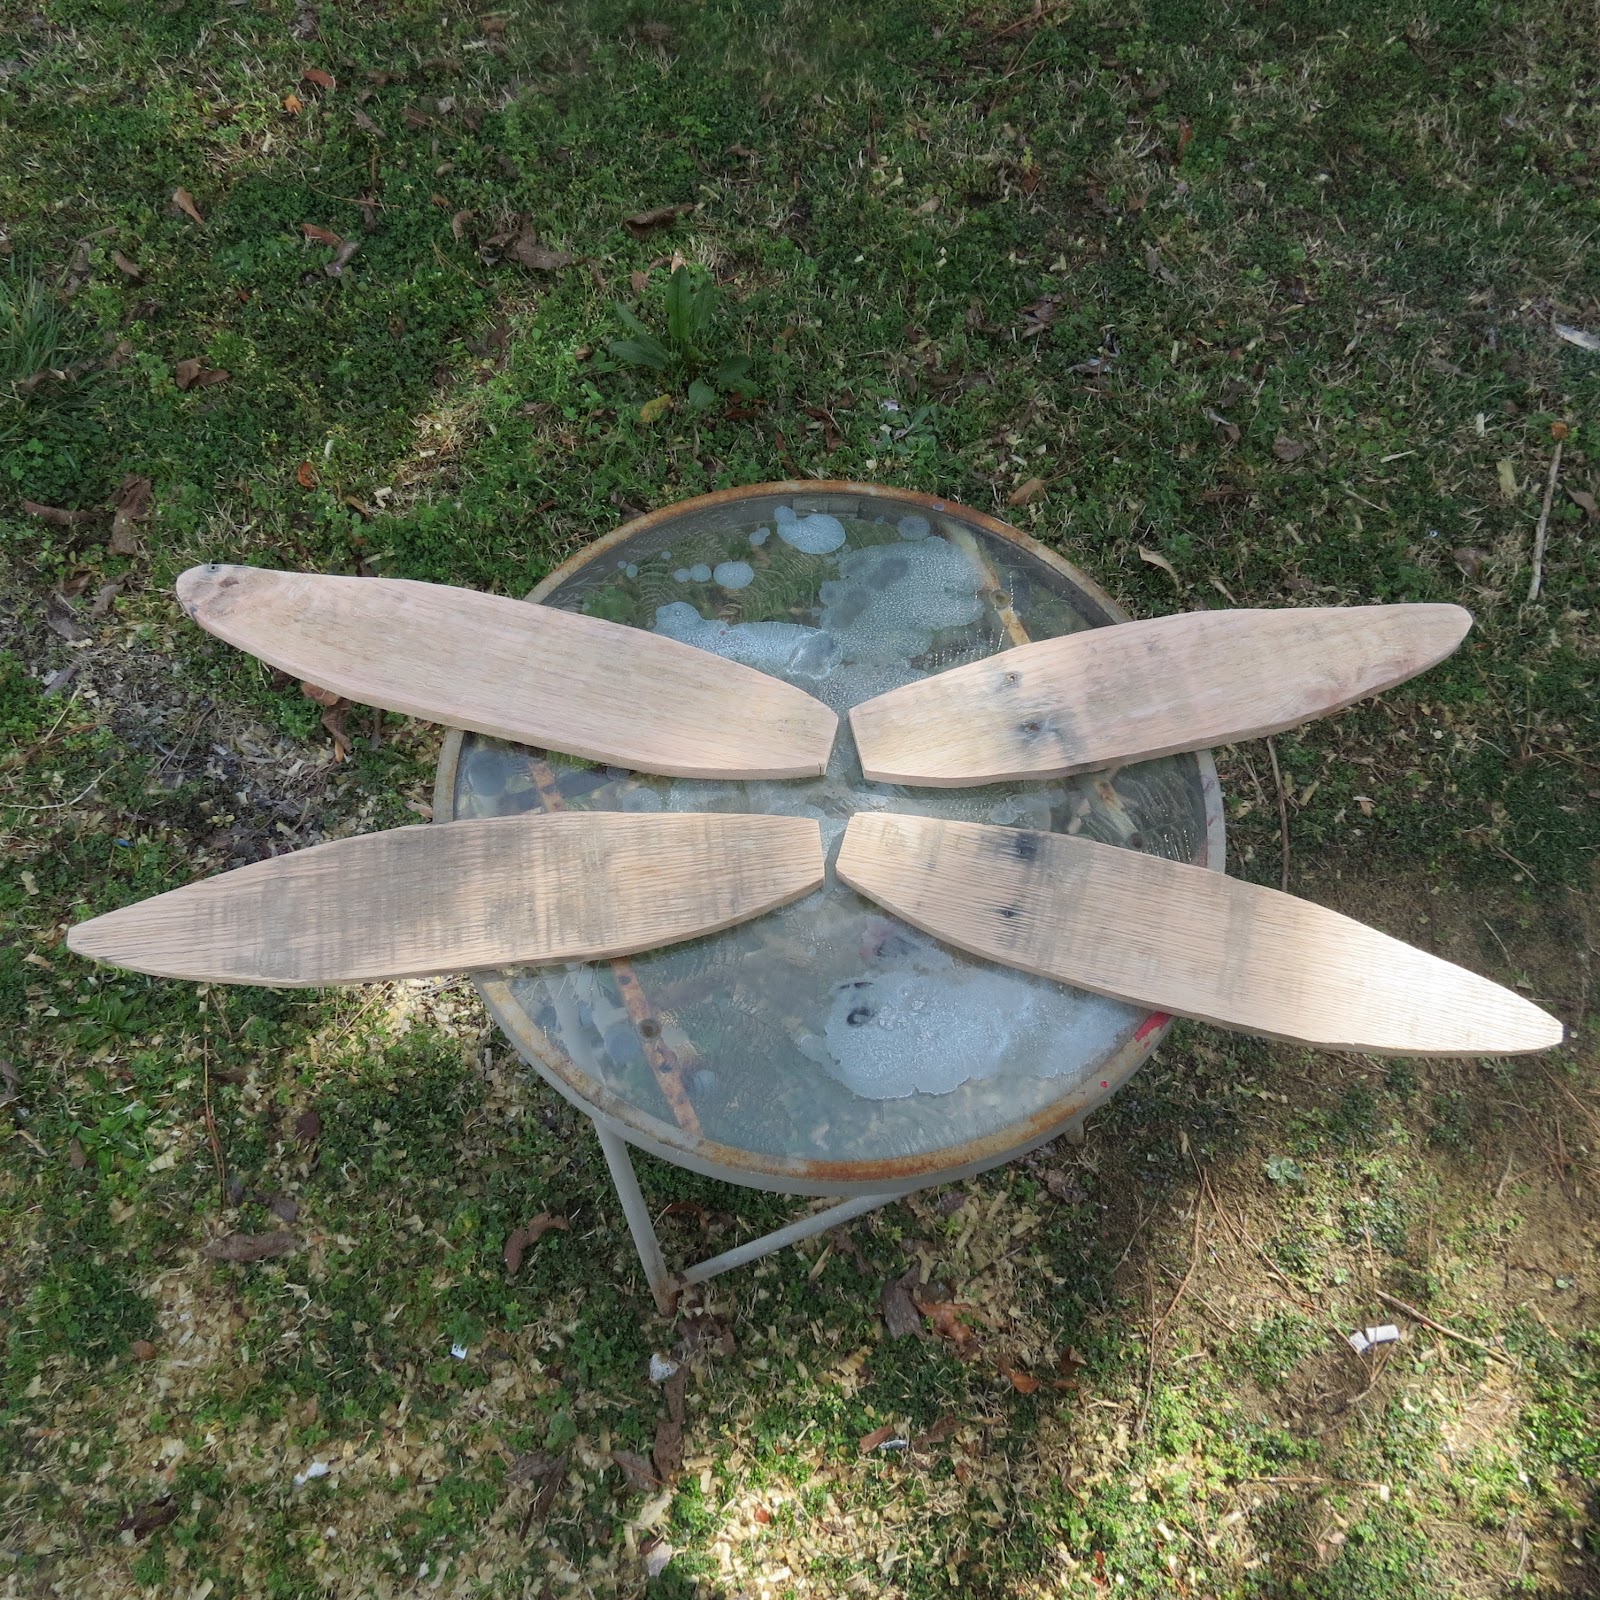
The first set of wings I made were made out of pallet wood left over from the pallet benches we made last month. (I still need to post those pictures) The slats of oak were pretty thin and pretty easy to cut out with the jig saw.

I "eyeballed" how large to make them. I knew that I wanted them to be large and exaggerated. I figured they needed to be about the same length as the spindle.
Then I went about painting them. I used shiny metallic paint that I picked up for less than 60 cents per can!
I know! Not only am I smart, but I'm also thrifty!
I painted all 4 of them with these six cans of paint and I still have paint left over! The great thing about this paint is because its made for cars, its waterproof , so it shouldn't flake, peel or fade.

Did I mention yet that I got all six cans of paint for like $3.50?

I wanted each dragon fly to be a little different from the next one, but its kind of hard when they're all painted from the same color pallet. I decided I'd give them all a little bit of personality through their eyes.
I really loved how the metal strapping worked for the "antenna". I experimented with the eyes and used something a little different for each one.

For this lady I used curtain hooks. I just bent them and twisted them around and then used screws to attach them to the spindle.

This lady has a couple of screws, nuts and some washers for her eyes. Its really hard to see in this picture, but they stand out about an inch or so from her body.
Note: Its really important to pre-drill your holes so your wood doesn't split. You don't want to go through all the work and then split your spindle during the assembly! I'm famous for skipping steps and taking short cuts, but this is one step you don't want to skip.
Then I remembered some laminate flooring that I had left over from another project. It was perfect for this project! Its lightweight and it didn't soak up the paint as bad as the porous wood.

It cut like a hot knife through butter! See how thin it is? And once again - I was able to use what I had instead of going out and buying new material.

I used 1 inch staples and glue to attach the wings to the spindles.
I pre-drilled the holes for the eyes and the holes for the antennae.

My English Bulldog Bella supervising to make sure I do it right...

I laid the body on a towel so I didn't scratch/damage my paint job on the body of the dragon fly.


You don't have to have a high powered brad nailer or staple gun, but it did make it go a lot quicker.

If you don't have access to nifty tools like these I strongly recommend pre-drilling pilot holes and using screws to your table leg.

I used some scrap 12 gauge wire to make a hanger, and stapled it to the back. If you want your dragon fly to hang on a slant, you may want to add another hanger farther down on her "body".
I hung this lady on my outside shower. Ain't she the cutest?


So y'all tell me what you think. I value your feed back. Please send me pictures of what y'all make and feel free to share.
No comments:
Post a Comment